Brawl
Win the DPS race at scram range. Ships like the Federation Navy Comet are ideal here — raw damage wins most straight trades. There are some cheeky options like the Tristan that will allow you to learn the archetype.
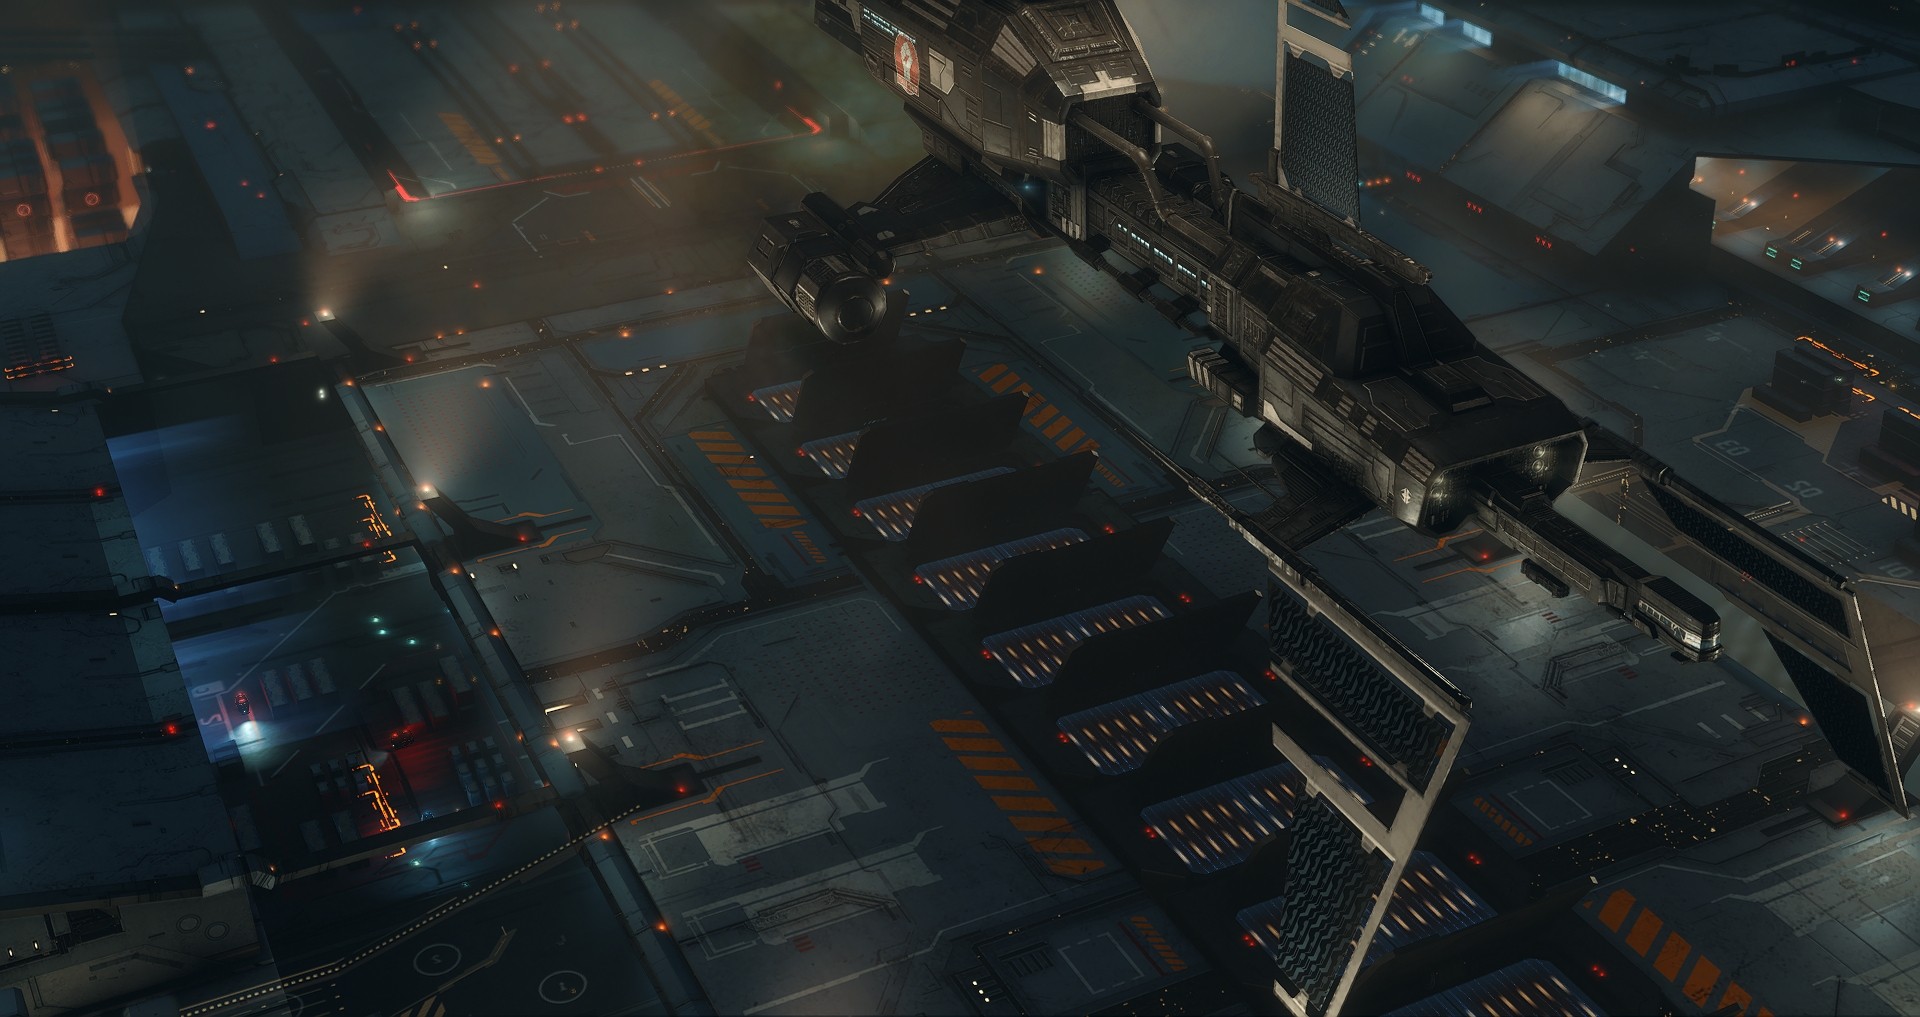
Faction Warfare Frigate Guide
Web Edition · YC 128
Scout complexes are less common for income these days, but still excellent for high-octane player-versus-player practice. Frigates are more intricate and fragile than destroyers and cruisers—minor mistakes kill you faster, which is why they are ideal for practicing core mechanics.
Navy hulls are fairly dominant, but T1 hulls still show up constantly.
This guide is written for pilots who already know how a complex works and want a practical guide for frigate fittings. It is not as comprehensive as the Faction Warfare Yearbook—if you end up diving extremely deep into the frigate world, you will want to earmark that guide as well.
The fits below are examples of archetypes you will actually see. Module tier, bling, and adjustments are expected as you improve over time.
The frigate metagame operates quite a bit different than the destroyer and cruiser metagame. Hull projection bonuses are weaker, so the range you hold often decides the engagement. Kiters with high ground beat brawlers at the wrong range; brawlers with high ground beat kiters who land on zero.
One surprise if you only know destroyers: most frigate brawlers use an afterburner. Microwarpdrives are often seen with warp disruptors instead of scram fits.
The guide is primarily written for solo pilots. Many of these fits are wrong for structured gang work; there are better options when you are flying with others. The example fittings are not meant to be the final word. Module tier, rig choice, and bling all matter, but each one is a solid representation of its archetype and will perform as described. Common variants (refits) will be called out, as well.
Matchup notes describe the optimal line when nothing else is in play. If you know your opponent's fit, if you have fought the same pilot twice in a row, or if local conditions differ, change the plan. Being predictable is sometimes worse than being slightly suboptimal.
Win the DPS race at scram range. Ships like the Federation Navy Comet are ideal here — raw damage wins most straight trades. There are some cheeky options like the Tristan that will allow you to learn the archetype.
Stack webs and other tools so that the other pilot doesn't get to play. Caldari Navy Hookbill dominates here, as it has the mid slots to run multiple webs or even some electronic warfare. Breacher is a great way to learn this archetype.
Hold outside of their apply range and grind away. The Imperial Navy Slicer is king here, and it's cheap enough to learn on. Manual piloting, capacitor management, and grid awareness are key here.
If you know what someone is flying, there are a few direct counters that you can simply run them down in. Things like Slicers easily get clapped by anti-kite ships.
Matchup charts are available on desktop.
High ground Low ground
| High ground vs Low ground | Rocket Hookbill | Blaster Comet | Arty Firetail |
|---|---|---|---|
| Rocket Hookbill | |||
| Blaster Comet | |||
| Arty Firetail |
High ground Low ground
| High ground vs Low ground | Beam Slicer | MWD Comet | Arty Firetail (web kite) | Web Kite Vigil Fleet | LML Hookbill |
|---|---|---|---|---|---|
| Beam Slicer | |||||
| MWD Comet | |||||
| Arty Firetail (web kite) | |||||
| Web Kite Vigil Fleet | |||||
| LML Hookbill |
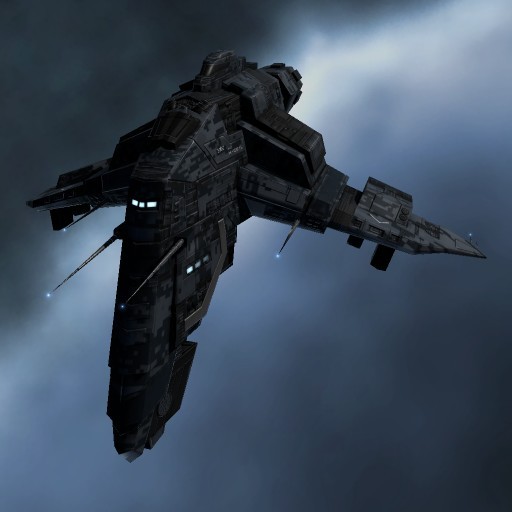
Caldari Frigate · Hookbill
The control king — generally no matchup it can't take on high ground.
The control king — there's generally not a matchup that the Caldari Navy Hookbill can't take on high ground. Most rocket fits rock an afterburner, and there are a few variants on tank. Load Scourge, as that's what the hull is bonused for.
There are some light missile fittings as well, but they won't be included in this guide.

MSE + BCS buffer race. Trades EWAR for raw tank and DPS. Still Scourge primary. Fly this first.
AB, scram, double web, scoped TD, SAAR. Load Scourge—swap TD for missile disruptor into missiles; MASB instead of TD is often fine.

Load Scourge Rage
Pull range and hold them at the edge, don't let them get close.
Load Scourge Rage
Both want the scram-kite range, without a TD this matchup is hard. Watch out for the neut.

Load Scourge Rage
Usually an easy win, respect their opening alpha.
Load Scourge Rage
Hold them at range, neuts at 0km is how you die in this fit.

Load Scourge Rage
High ground helps.
Load Scourge Rage
Heat and pray to the holy rat.
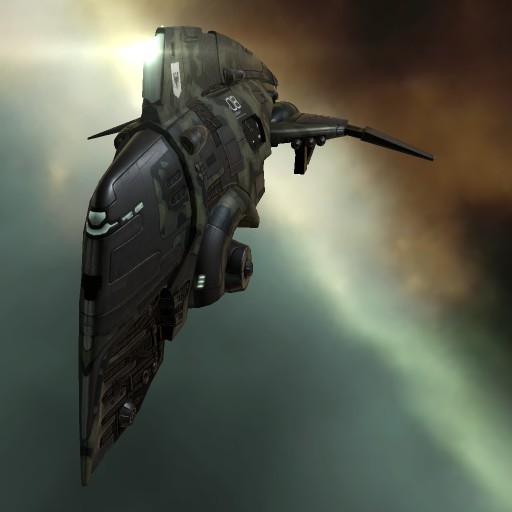
Gallente Frigate · Comet
Flexible navy hybrid: covers more Scout archetypes than the other three.
If you want one navy frigate for most jobs, start here. You'll win most of your DPS races, often losing out to things that can double web and keep you at range.
Get on top of them and start blastin'. Carry a damage drone flight and an ECM flight for emergencies. There are a few variants with extra webs or MWD anti-kite for opportunistic fits.
Same thing, different tactic. Keep them at scram/kite range and load Null/Antimatter like you would different ranges of missiles.
Load Void
On the beacon you can force a trade. Sliding into a double-web Hookbill at 10 km is usually a loss.
Load Void
Close hard. If they hold scram-kite with Null, you are playing their game.
Load Void
Get under the artillery. Their webs fight your single web—high ground matters.
Load Void
Win the DPS race if tackle lands clean.
Load Void
Do not chase a clean kiter in a blaster Comet unless you brought anti-kite props.
Load Void
Heat, drones, and who webs first.
Load Antimatter
If you can get your neut applying, you can usually turn off their TDs.
Load Null
Hold scram-kite range. Zero is their win condition.
Load Antimatter
Similar range story; your tank and neut help.
Scram early or leave. A Slicer that never enters tackle range is not your fight.
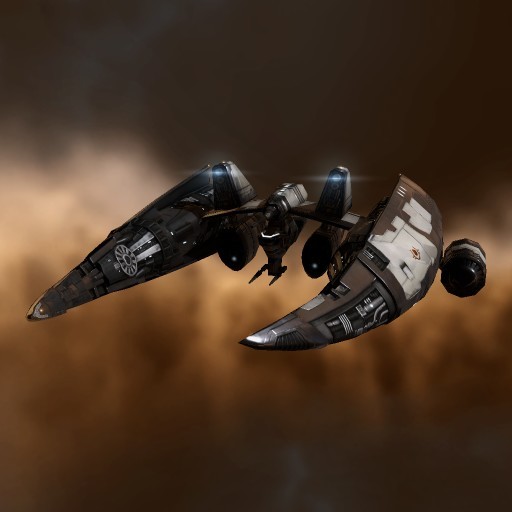
Amarr Frigate · Slicer
Cheap navy kiter: projection and capacitor on a thin hull.
Slot layout pushes you into MWD kiting, and it's one of the best kiters in the game. Pulse fits exist, but they're often secondary — just fly a Comet.
Everything is about conserving your capacitor. Don't use your disruptor the entire fight, use it when you're closing the fight.
Get ready to play DDR and manage your buttons like crazy. Stay past scram and most webs.
Never enter scram. Stay at point range and apply Multifrequency or X-Ray.
Same rule. Scram on you is the failure state.
Win on projection unless they web you into their range.
Kite clean; leave anti-kite fits alone.
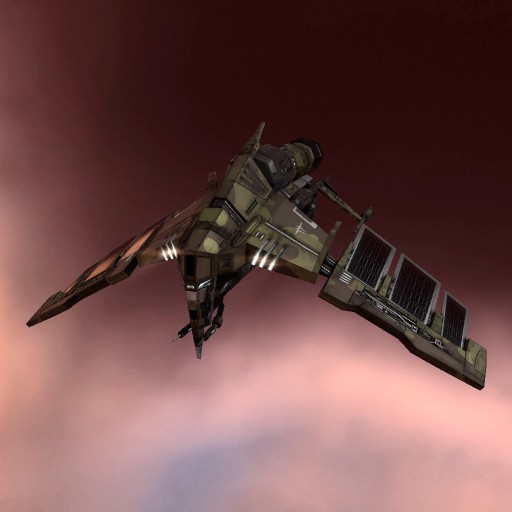
Minmatar Frigate · Firetail
Speed and double web: weak on paper, useful when you pick fights.
Fast hull with a few opportunistic options. Expect to lose most DPS races — you'll often be winning by choosing your battles carefully and out-tracking your opponent.
Primary fit you'll see. Tracking is a bit of a skill check — don't sit still. Load ammo based on if you're scram-kiting or web-kiting.
Load Quake
Same job, they usually win tank. Take misplays only.
Load Quake
Stay out of blaster optimal. Double web is your edge.
Load Quake
Keep moving. Tracking and heat decide.
Close with webs or leave.

Load Quake
Their webs out-range yours. Close hard or leave.
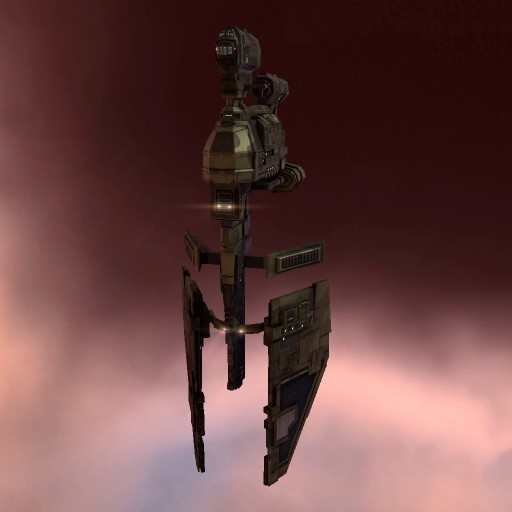
Minmatar Frigate · Vigil Fleet
Long webs and rocket application on a Minmatar navy EWAR hull.
Often the better Minmatar navy solo ship than a Firetail. Role bonus webs reach farther than combat-frigate webs, and the explosion velocity bonus helps Rage apply with a single web.
Hold outside their webs and apply Javelin. Common refits are MASB, and there are scram-kite variants.
Load Scourge Javelin
Stay outside their web. They cannot make you take a Void race at zero.
Load Scourge Javelin
Web-kite outside their scram-kite. Do not wander into double web at 8 km.
Load Scourge Javelin
Your webs out-range theirs. Hold the long web edge.
Load Scourge Javelin
Both want range. Cap and heat decide; leave if they own projection clean.
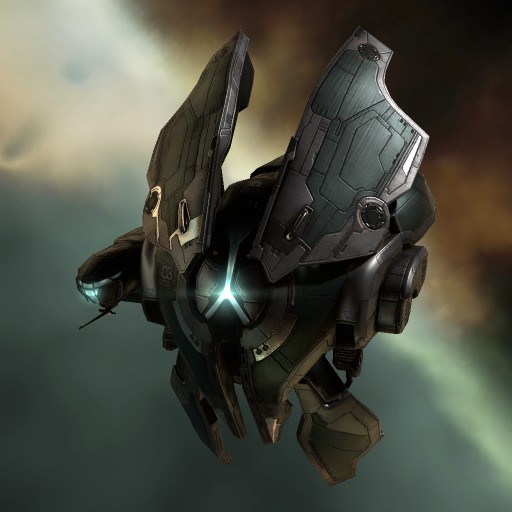
Gallente Frigate · Tristan
Drone combat frig: still common, no longer automatic.
These still appear constantly, but aren't the dominant force that they used to be many years ago. Fly it for drones, farming, and the ability to brawl or kite. Pull drones when you're running away — those things are as expensive as the ship!

Drones out as soon as you can, lock them down and start praying. A few ECM drones might save you in a bad matchup.
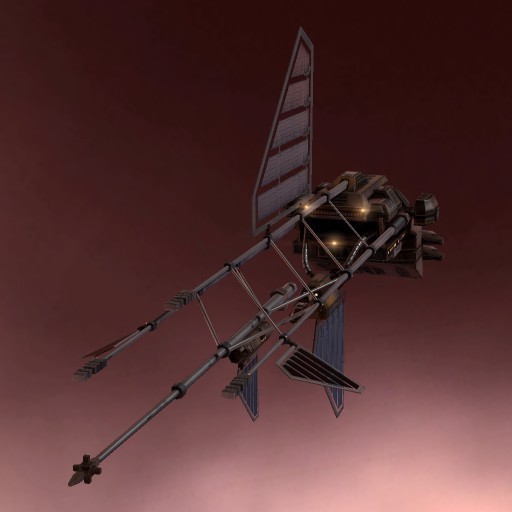
Minmatar Frigate · Breacher
Missile combat frig: scram-kite rockets with a stronger T1 tank.
BearThatCares's favorite ship — versatile for both frigate small gangs and casual fights. There are many refits, but typically they involve active tank and some form of range control.
Hookbill is the obvious next step for anyone who enjoys the Breacher.

Heat the booster and SAAR for the damage spike. Keep them at range as best you can.
This guide stands on its own. The links below are where we looked for community practice, plex fundamentals, and deeper yearly data—use them when you want another angle.




/alliance/ 
/learning-center/ /learning/ /alliance/story/ /alliance/values/ /alliance/content/ /brand/ /legal/privacy/ /legal/terms/ /campaigns/etherium-reach/ /campaigns/auga-yc128/ /warzone/ /warzone/yc128-07/ /warzone/yc128-08/ /warzone/yc128-09/ /amamake-market/ /amamake-market/yc128-08/ /amamake-market/yc128-09/ /campaigns/providence/ /campaigns/scalding-pass/ /campaigns/hek/ 
/alliance/corporations/ /alliance/corporations/associates/ /alliance/tribes/ /alliance/tribes/?tribe=capitals /alliance/tribes/?tribe=supply /alliance/tribes/?tribe=supply /alliance/tribes/?tribe=pulse /guides/ /learning/guides/navy-destroyer-metagame/ /learning/guides/navy-frigate-guide/ /learning/guides/faction-warfare-cruiser-guide/ 
/alliance/content/ 
/ships/ 
/ships/fittings/ 
/ships/doctrines/ 
/market/ 
/market/freight/calculator/ /market/freight/contracts/ /market/freight/contracts/history/ /market/buyback/ /market/buyback/contracts/ /market/buyback/stocks/ /market/buyback/orders/ /market/buyback/contracts/history/ /market/ops/ /market/ops/contracts/ /market/ops/sell_orders/ /market/fitting_orders/ 
/industry/ /industry/orders/ /industry/orders/history/ /industry/orders/summary/ /industry/blueprints/ /industry/blueprints/copies/ /industry/products/ 
/intel/combatlog/