
Blitz Minmatar level 5 missions in EVE Online: tactics, mission walkthroughs, and ship fits.
By: BuppasThis guide is considered incomplete. Updated: 2024-02-02.
The Concept
- This guide is written from the perspective of Minmatar space/agents, however it works the same for the other factions, the biggest difference is a slight variation in rats in some missions, and that the standing gain/loss goes to other factions
- The way to run or blitz most of these missions is that you outrange everything, and as such, need extremely little tank, some missions require a refit, as they have long-range damage and neuts. Decline any mission not in the list below, and generally decline The Big Sting (1 of 3) if possible, as it takes too much time.
- Over time, this way of running missions will tank your standing with Caldari & Amarr, if you don't want to tank Caldari standing, simply decline any mission that targets them to still have easy access to Jita. Each declined mission will give derived standing loss with Gallente, however this shouldn’t be an issue since our Storyline missions should still keep you at +5 standing with Gallente without issue from the derived standing as that is the derived-standing limit.
Requirements
- 7.0+ standing with the faction you want to run with (in this case, I will use Minmatar republic, as that's who we are!)
ability to fly Barghest, Golem or Raven, good Cruise missile skills (bonus if you can fly a carrier)

- Tips to get 7.0+ standing if you are below it: 'The Blood-Stained Stars'; SoE Epic Arc (requires access to all empire space) reward is shareable 'Wildfire'; Minmatar Epic Arc (requires 5.0 Minmatar standing) - extended guide, including fits - reward is shareable Minmatar COSMOS Missions (various requirements, one time thing) - reward is unshareable Data centers (various requirements, one time thing) - reward is unshareable Career Agents (requires access to highsec, one time thing) - reward is unshareable Circle Missions (requires access to highsec, one time thing) - reward is unshareable Tribal Liberation Force Promotions (standing requirement with TLIB, one time thing) - reward is personal, but someone else can boost your standing if needed. Blitzing lvl 1-4 missions and get it via storylines, but doing the above is probably faster. Derived standings, depending on what your Minmatar standing is, one option is to do the Gallente equivalents to the above, as most of them give derived standing up to 5.0 Minmatar standing Alternatively, you can pay to have it Boosted
Initial Investment
- ~1.5b (current jita prices as of 2023-02-23) to run things efficiently, fits will be at the end of the post.
General Suggestions
- Never warp at 0: I cannot stress this enough, you can get stuck on beacons and lose your ship!
- Don’t bother blinging your ship more than necessary, it's generally not needed and if you ever get ganked, people will learn you are worth hunting, I've had people gank me and then simply stop hunting me after seeing my fit as it's too much effort.
- You never want to drop below -1.89 standing with the agent/corp you are running missions for, if you do, they stop giving missions.
- "Seeding" every system you get missions in with their own ships(Battleship+carrier) so you can use a ceptor/astero etc to move around in, makes this relatively risk free and a lot faster.
- Until you are able to seed every system, you can use the cloak+MWD trick with the battleships to warp around somewhat safely.
General Tactics
- Unless stated otherwise, The below tactic is how you should do on each mission: Carrier: Always warp at 100, launch fighters and kill objectives while aligning back to a insta-dock bookmark on the station, recall fighters and warp once recovered, if in danger, leave fighters behind and save the carrier. Golem: Always warp at 100, Align back to your station/away from the rats and MJD once, you can then chose to bastion once, then MJD, or just shoot without bastion and MJD once its up again, then bastion. Barghest: Same as golem, except you don’t use bastion and instead keep moving away and MJD once it's up again. A great video guide was recently posted for the Barghest, it also shows how to blitz a few missions that are not mentioned in this guide (at this time, once i've tried it myself, this is the reason guide is currently considered incomplete, and will be updated in the future) Raven: This works, but it is slow and alot more annoying (but seriously, just go run some plexes in FW and buy a Golem/Barghest), you will have to warp out on alot of missions atleast once.
- calculating exact isk/h is tricky, since it relies on the current LP prices, but you can count on getting on average 400k LP/hour using a Golem/Barghest, and about 75m from mission rewards/bounties
- Suggested ships is for Speed Carrier (can't run Rogue Spy), Comfort Golem, Safety Barghest , Budget Raven
- Some of the missions are challenging in a battleship, but still doable, but always warp out instead of risking your ship.
- Barghest is generally faster than Golems since the bastion change, however they are more "annoying" to run as you need refits depending on the mission.
Implants
- Implants I suggest using either of the below implant sets+hardwires Mid-grade or above Nirvana or Amulets, for comfier tanking on harder/bad warp ins missions Mid-grade or above Hydra for faster kill times on smaller stuff Slot 7 Zainou ‘Deadeye’ Missile Projection MP-705 Slot 8 Zainou ‘Deadeye’ Guided Missile Precision GP-805 Slot 9 Zainou ‘Deadeye’ Target Navigation Prediction TN-905 Slot 10 Zainou ‘ Deadeye’ Rapid Launch RL-1005
Skills
- Useful skills for missions Social - more standing gain per mission vs positive standing agents/corps Negotiation - 5% extra ISK payout/lvl Security Connections - 10% bonus LP payout/lvl Diplomacy - 4% extra standing gain vs hostile agents/corps(negative standing)
Level 5 Agents
- There's pros/cons to each agent, some have a smaller system pool they hand missions in (less jumps/less seeded ships needed), others are in lower security so higher LP payouts, others are in quieter system areas, some have a better LP store at the time, pick your poison.

Missions
All images below are in the "blitzable" category—they are meant to be finished within minutes using a single character with any of the fits provided.
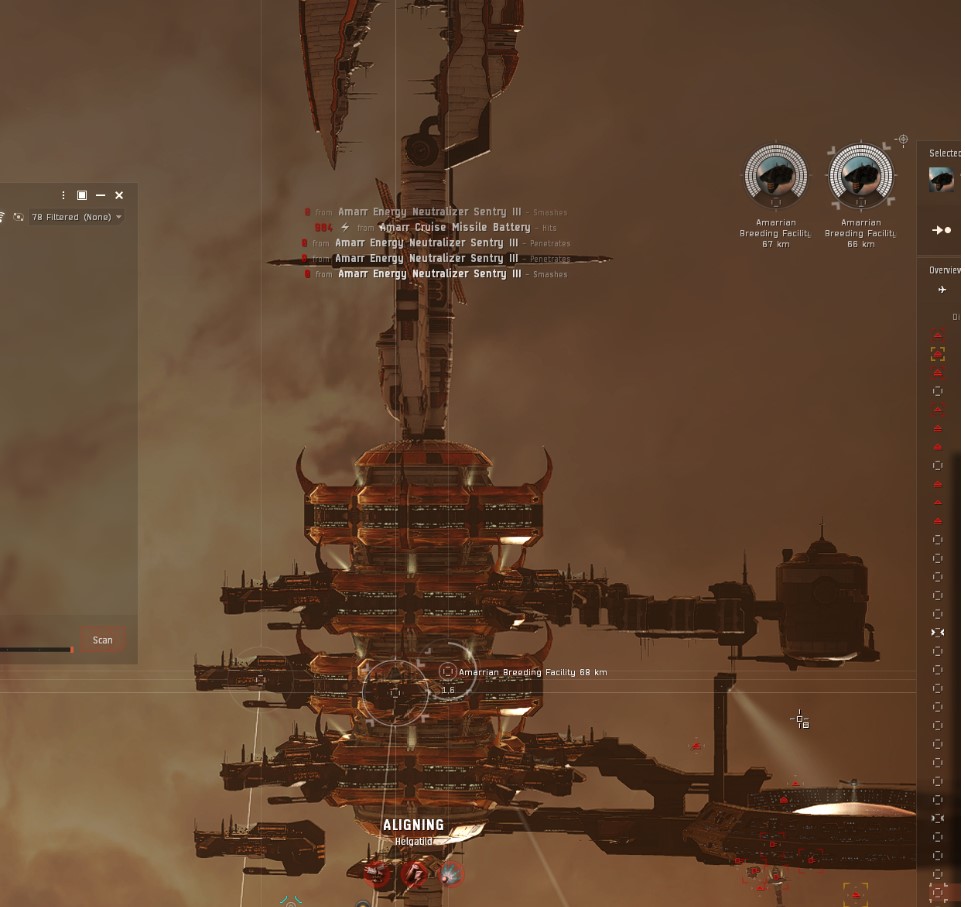
Breeding Facility
- Amarr Starbase Control tower. Press “Look at.” There are a bunch of “Breeding Facilities” attached to it. The target is on the side of the tower facing you, on the middle row below an empty slot. TIP: the Breeding facilites die in 1-2shots from 1400mm artillery, an arty tornado with SEBO's makes quick work on this mission, careful of frigates as they tackle. Split your guns/Launchers The Breeding Facility closest to you should be the objective, if you warped in at 0/10km Barghest use DPS fit
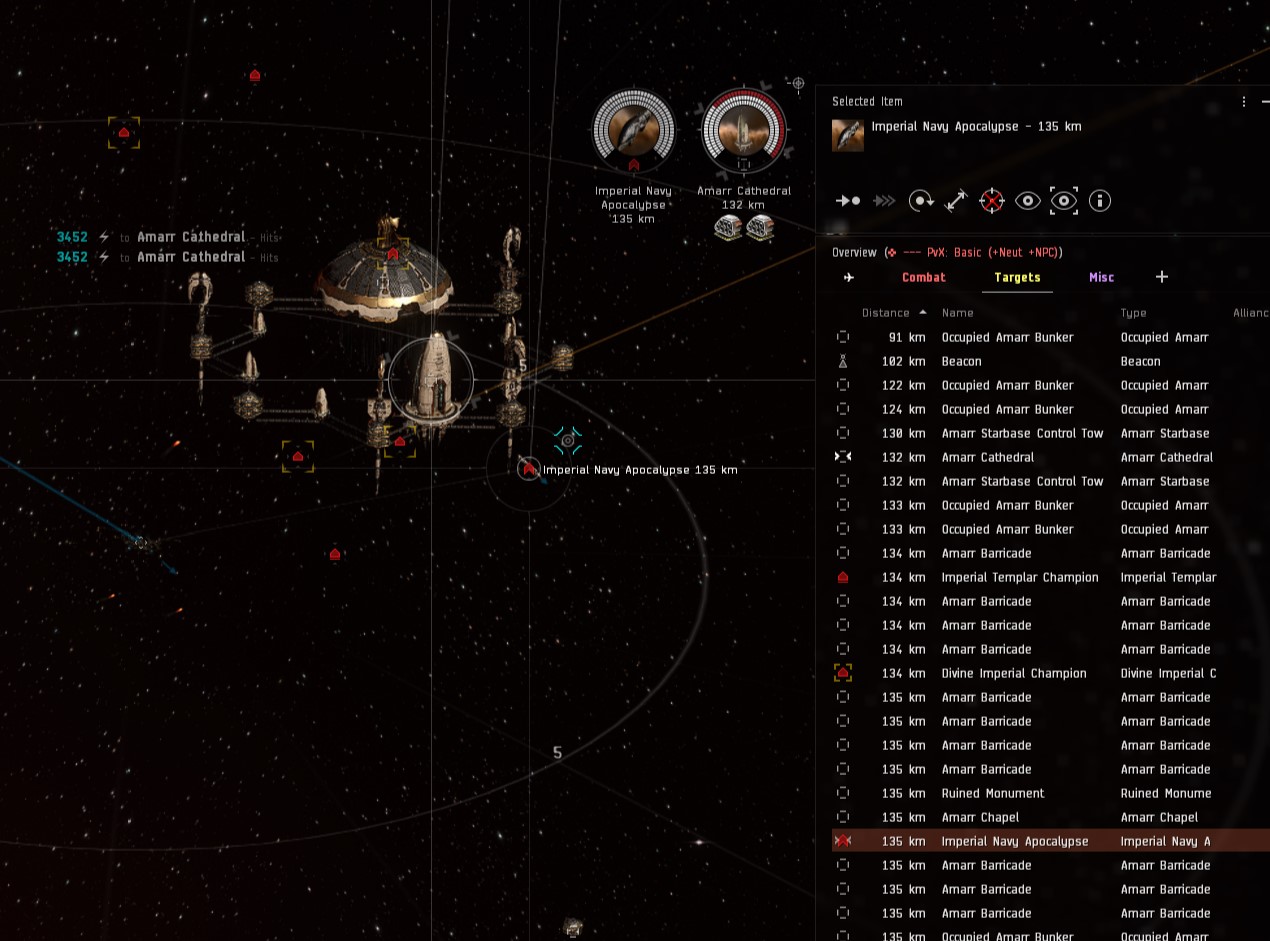
Cleansing Fire
- Destroy the Amarr Cathedral, Kill Imperial Navy Apocalypse, warp out. Barghest use DPS fit
Cleaning House
- shoot station until wave spawn, MJD so you end up 250km away from closest sentry gun to avoid taking any damage Barghest use Tank fit
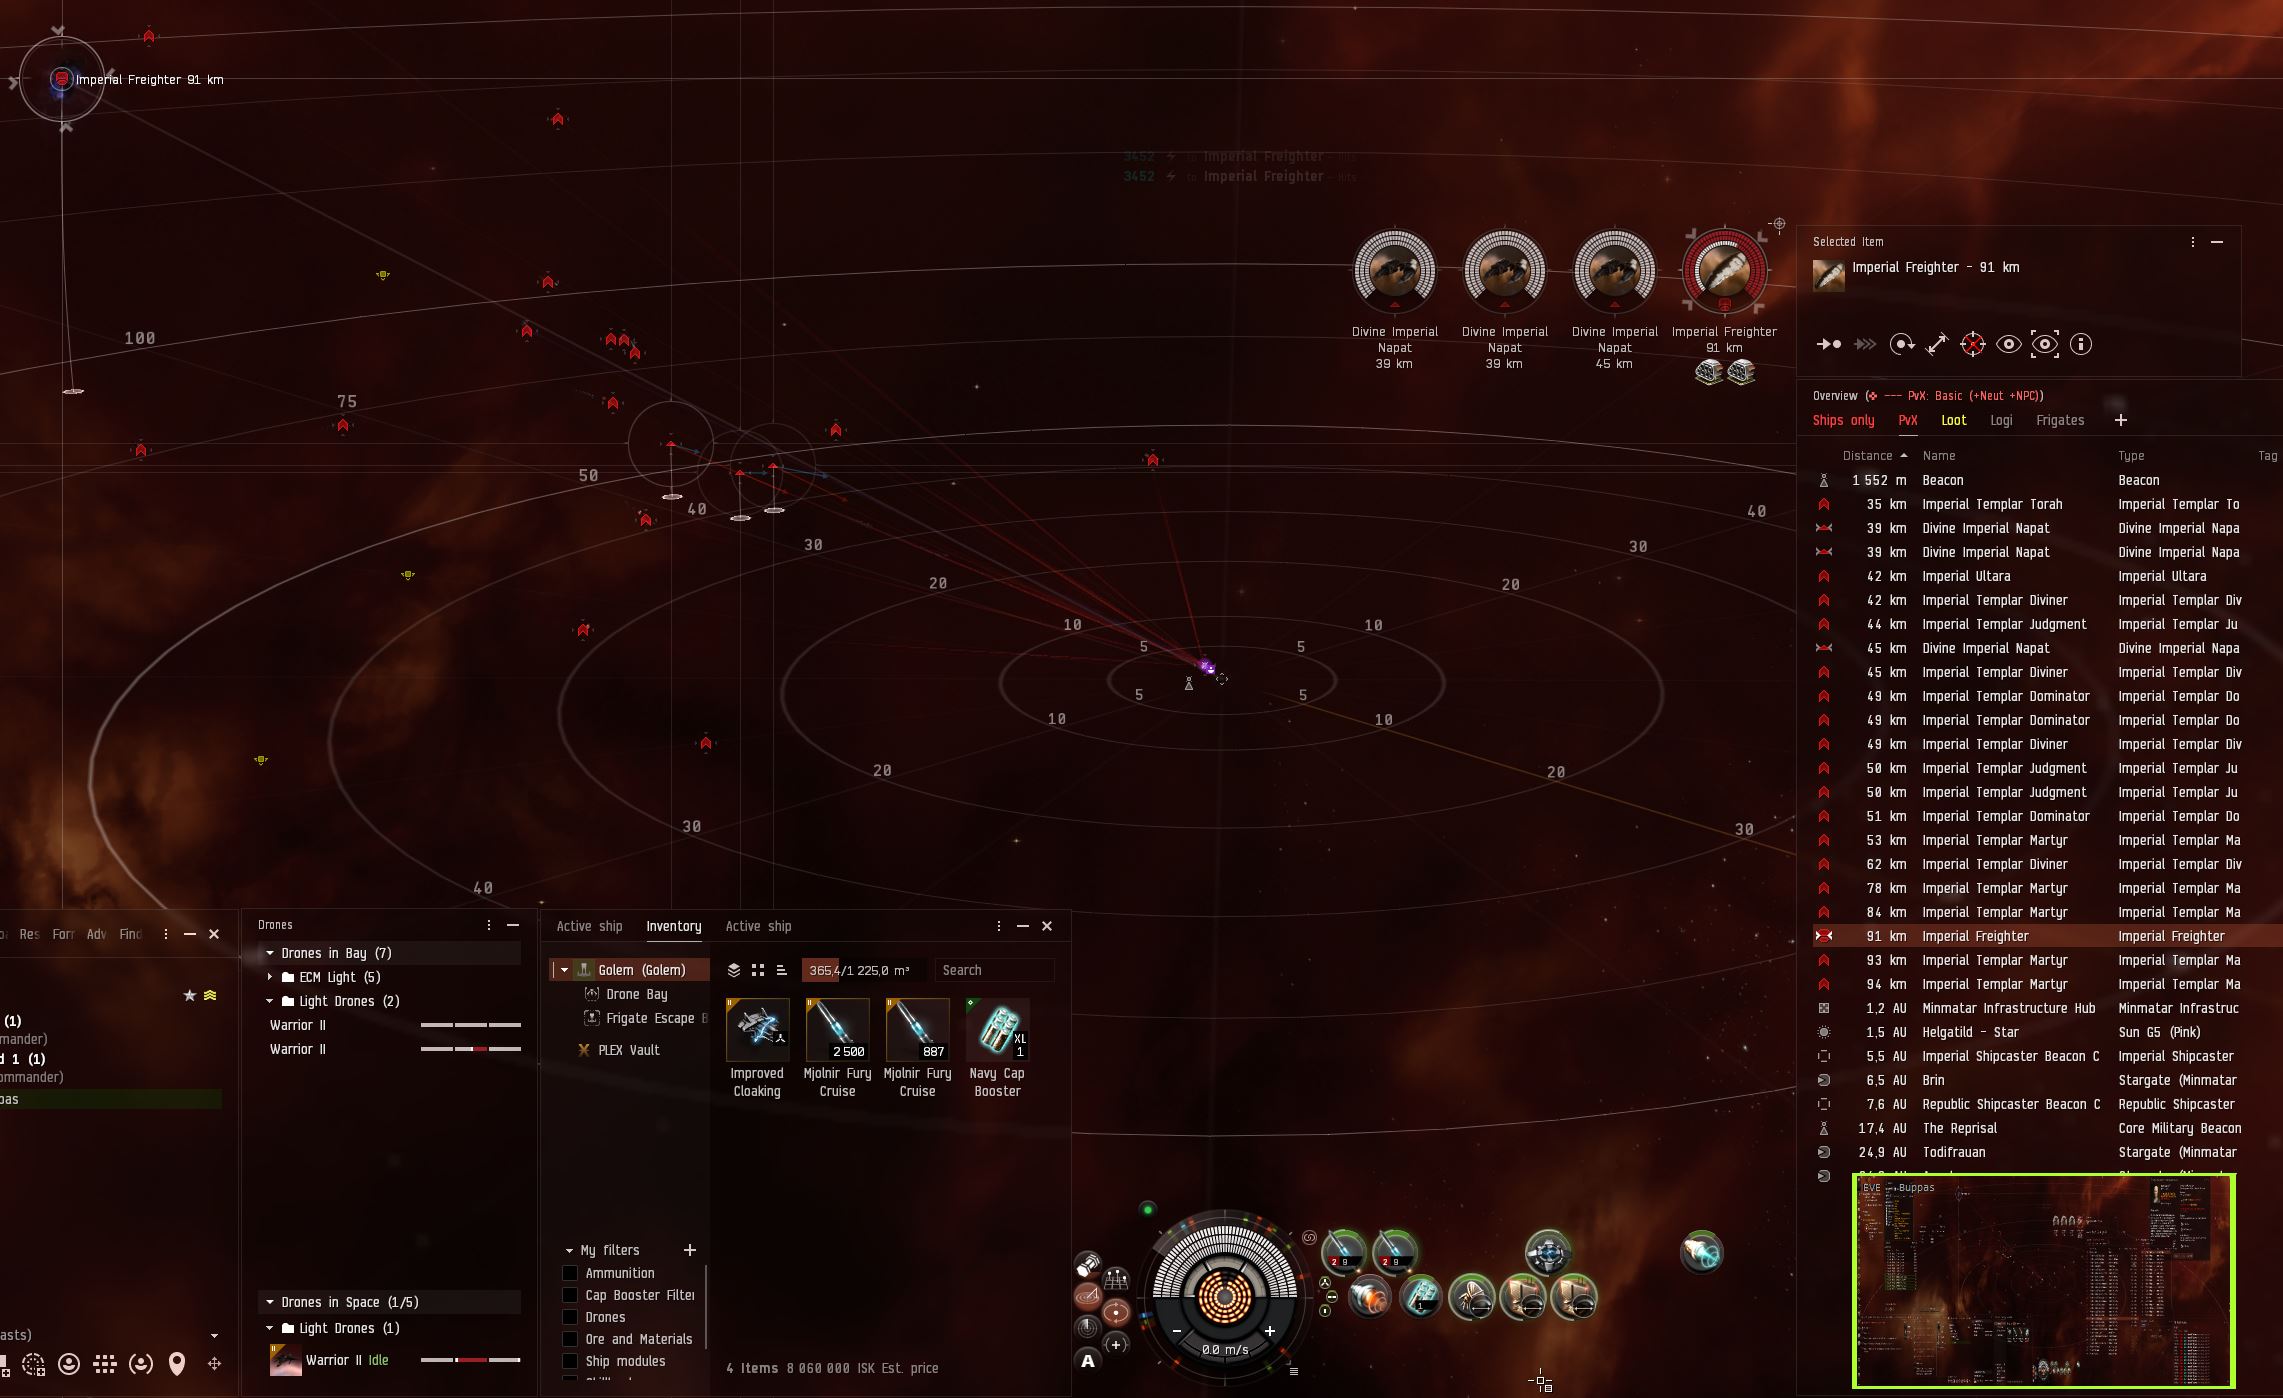
Convoy Attack
- Kill the 4 freighters *TIP: Send in 1 drone to attack a freighter, once it has aggro, start shooting the freighter and call back drone to orbit you, once the freighter dies, pull in the drone, then send it out and repeat for each freighter, do note this is a dangerous mission for golem if you sit bastioned on the warpin, in case of ganks Barghest Use DPS fit Golem Remove cloak and fit 2x Drone Link Augmentor II
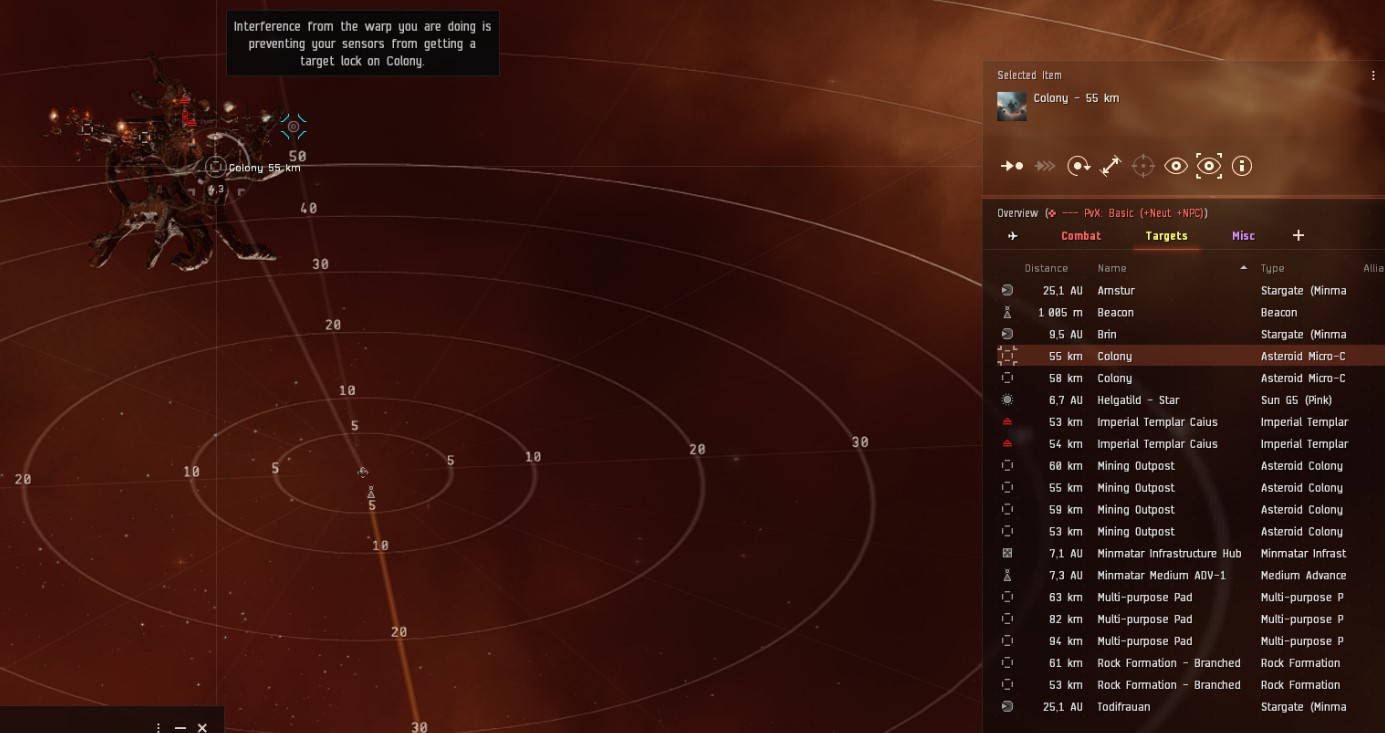
Reclamation(Amarr)
- Kill the closest Mining Colony and kill the "Imperial Templar Diviner" battleship that spawns, warp out TIP: careful of tackle, I usually warp at 0 so I don't accidentally shoot the wrong colony, turn away from the rats and activate MJD Barghest use DPS fit
Rogue Spy (1 of 3)
- Gated mission, warp at 10 -> punch gate -> MJD straight ahead against the drone structure Golem: MJD straight ahead, then turn 90 degrees UP, keep MWD active and MJD again once able, keep firing on rats while you keep MWD until a second MJD is available, then bastion and finish mission Barghest use DPS fit Use your travel ship to trigger spawns to save time, once you punch in with Barghest, do a 180, MJD and start killing the mission rats.
.jpg)
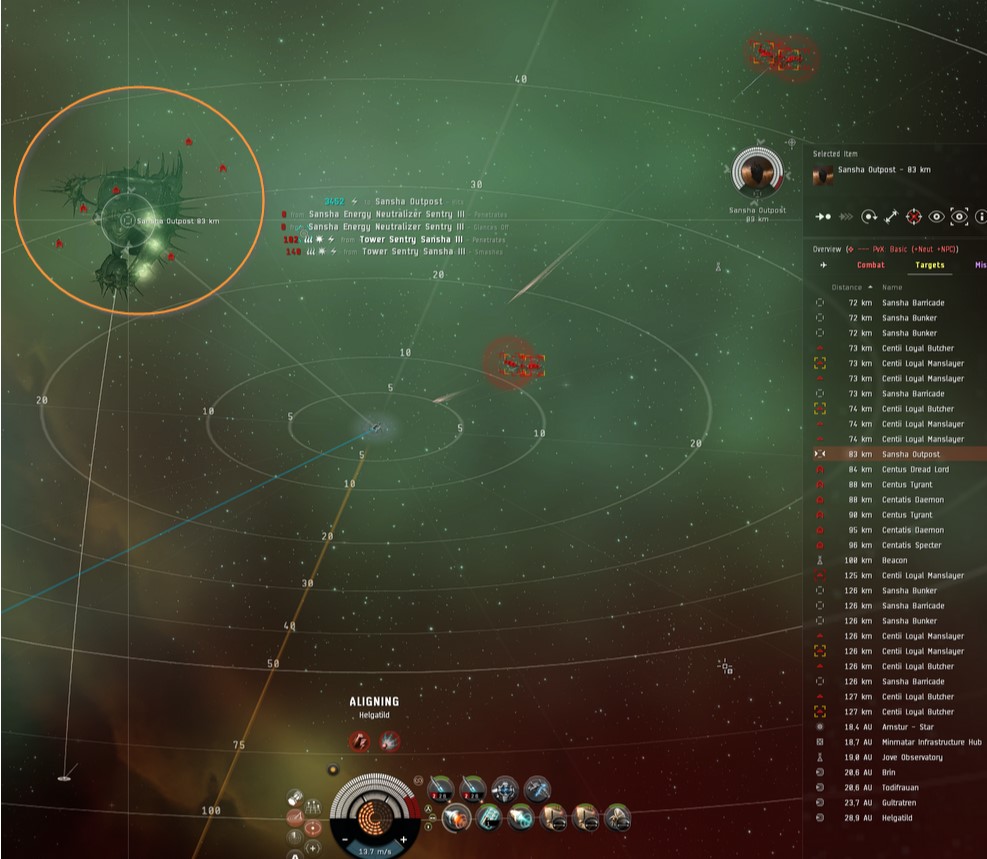
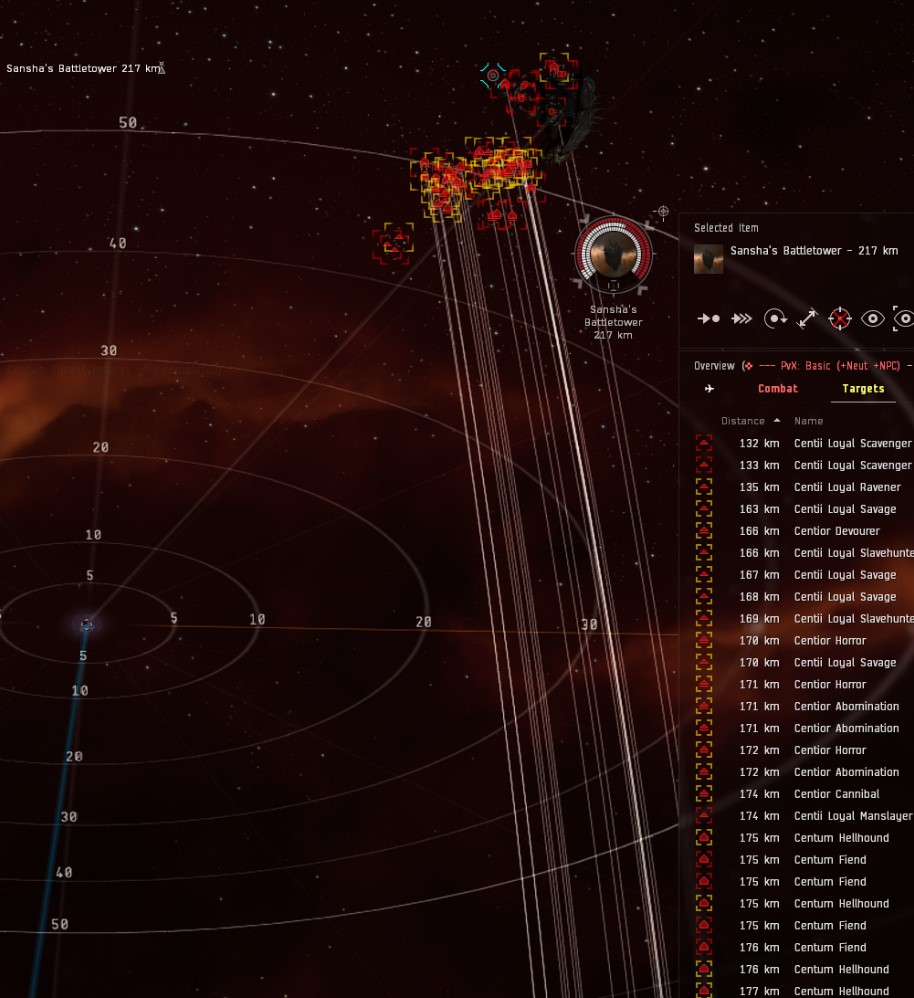
Sansha Acquisition
- Kill the Battletower Barghest use DPS fit
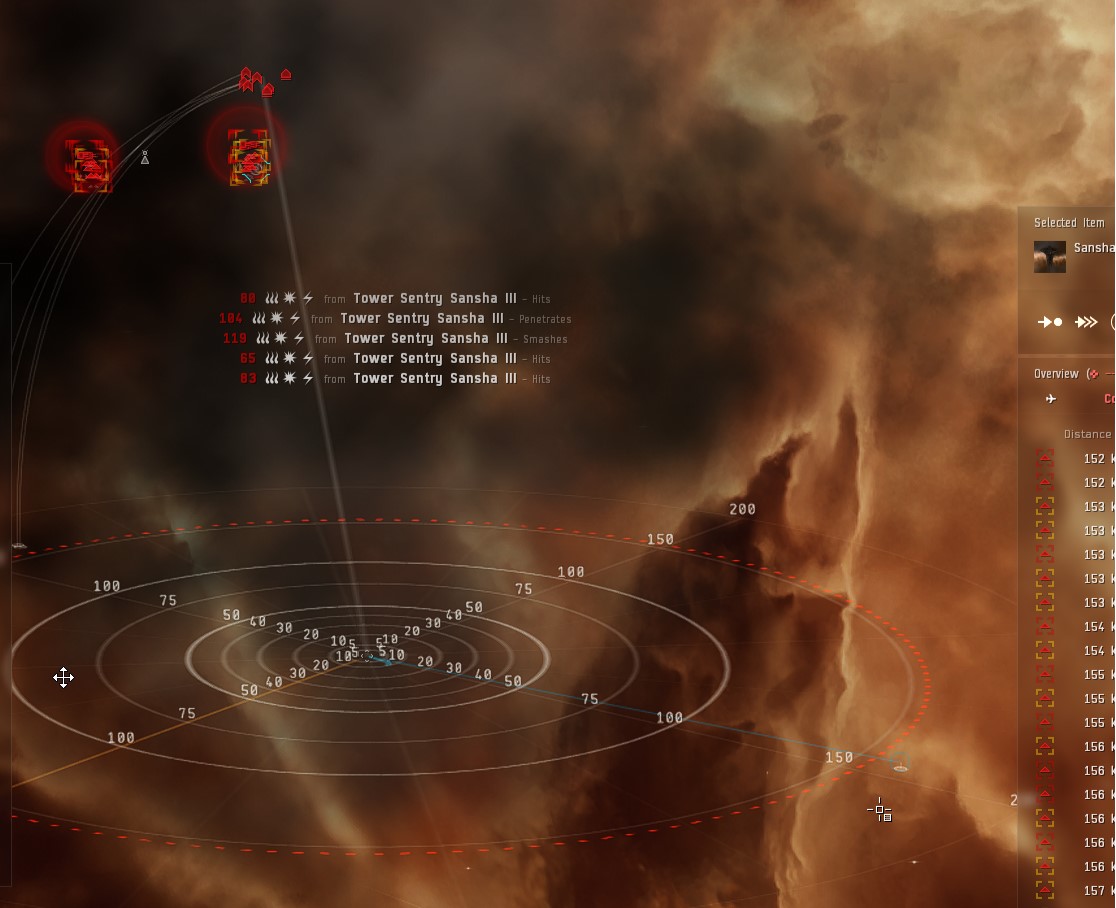
Sansha on the Horizon
- Kill Outpost and all ships that spawns it TIP: No tackle, but high damage, warp 100, turn in the best direction-> MJD and burn away until your next MJD will place you 250km+ from closest sentry tower while shooting objective Barghest use Tank fit
The Big Sting (Part 1 of 3)
- Fly in with small ship to trigger it, warp out, wait 8 minutes, don't get within 10km of the ghost ship, so warp in at 100! alternatively, warp in with golem/barghest, burn off 250km and cloak up, wait for spawn TIP: when flying the Golem on this mission, make sure you can survive the bastion cycle before you bastion up, the DPS can be quite high depending on how good of an angle you had when warping in on the rats, if you can’t survive the bastion cycle, just keep MWD active and MJD again once you can, when out of neut/sentry range, bastion up and finish the mission Barghest use DPS fit if using cloaking tactic
_-_frigate.jpg)
_-_golem.jpg)
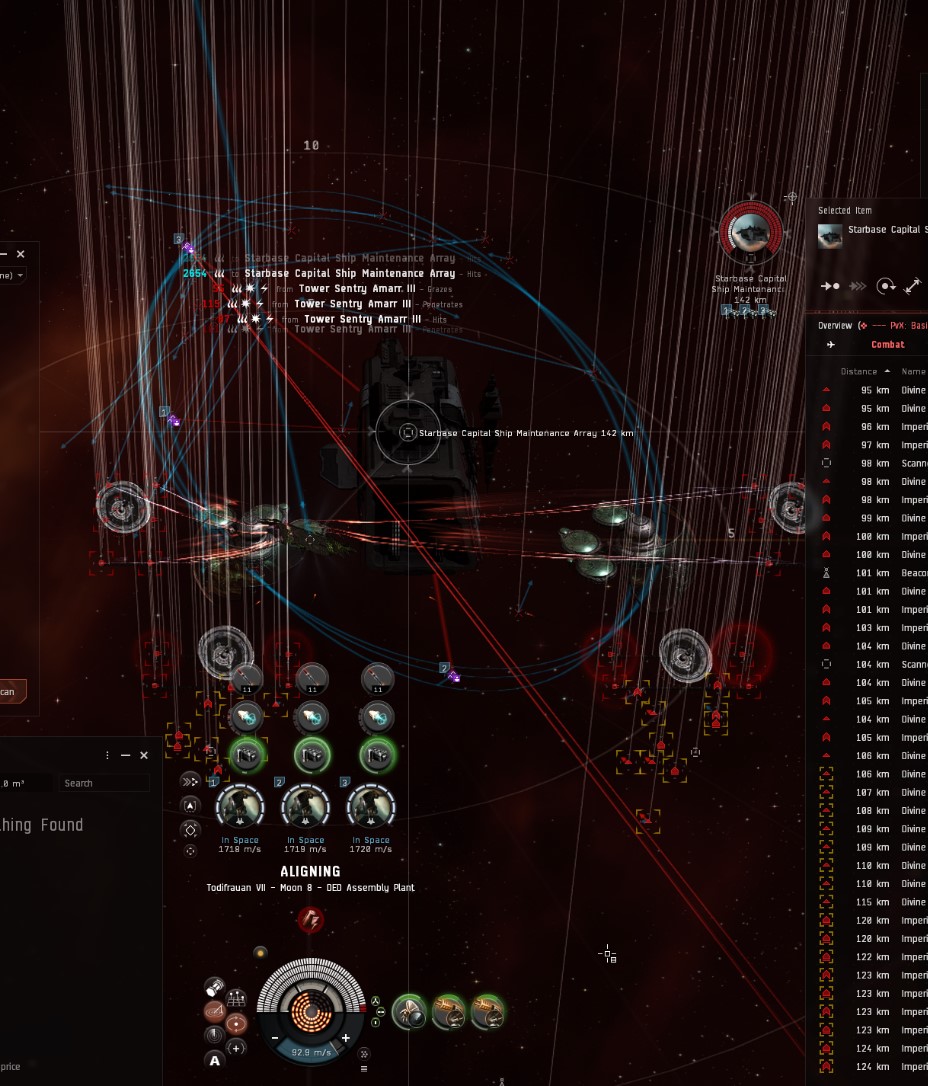
The Fortress
- Kill ship maintenance array (the big boi), warp out TIP: this mission is the only scary one, it has high initial damage DO NOT SHOOT STRUCTURE INITIALLY Golem Warp at 100, turn around and MJD away, keep burning until out of cap, once MJD is off CD, inject cap and MJD again, bastion up and kill the structure Barghest use Fortress fit (pair your hardener used with mission rat types), warp at 100, turn around and MJD. keep cap injecting.
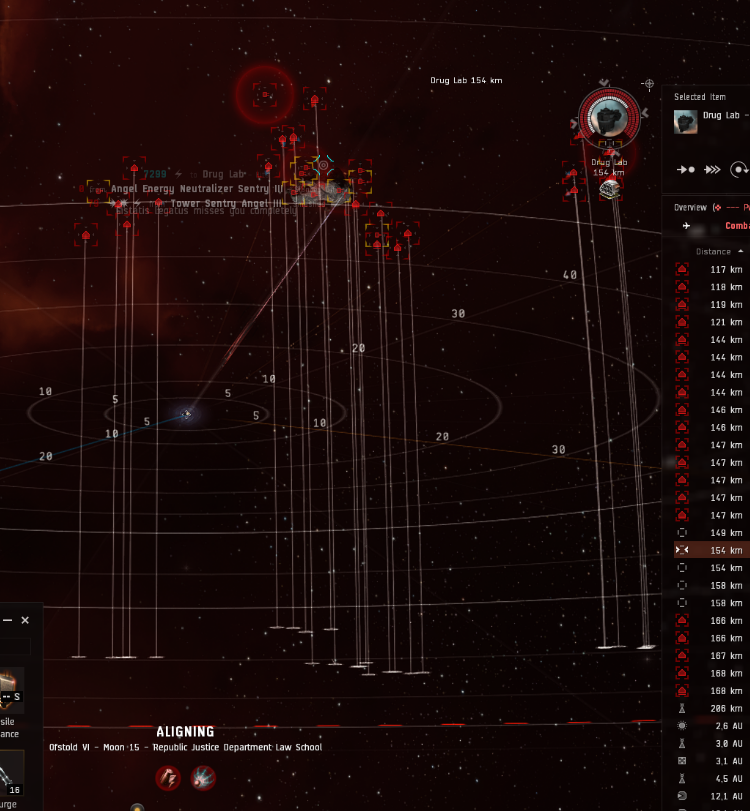
Wrath of Angels
- Kill the “Drug Lab.” Bookmark the can that's dropped, warp out. Turn in the mission, and go back to loot the can which has 2 scientists so you won't need to buy any more. TIP: buy 2x scientists on contract before accepting mission, so you don't have to clear the room Barghest use DPS fit
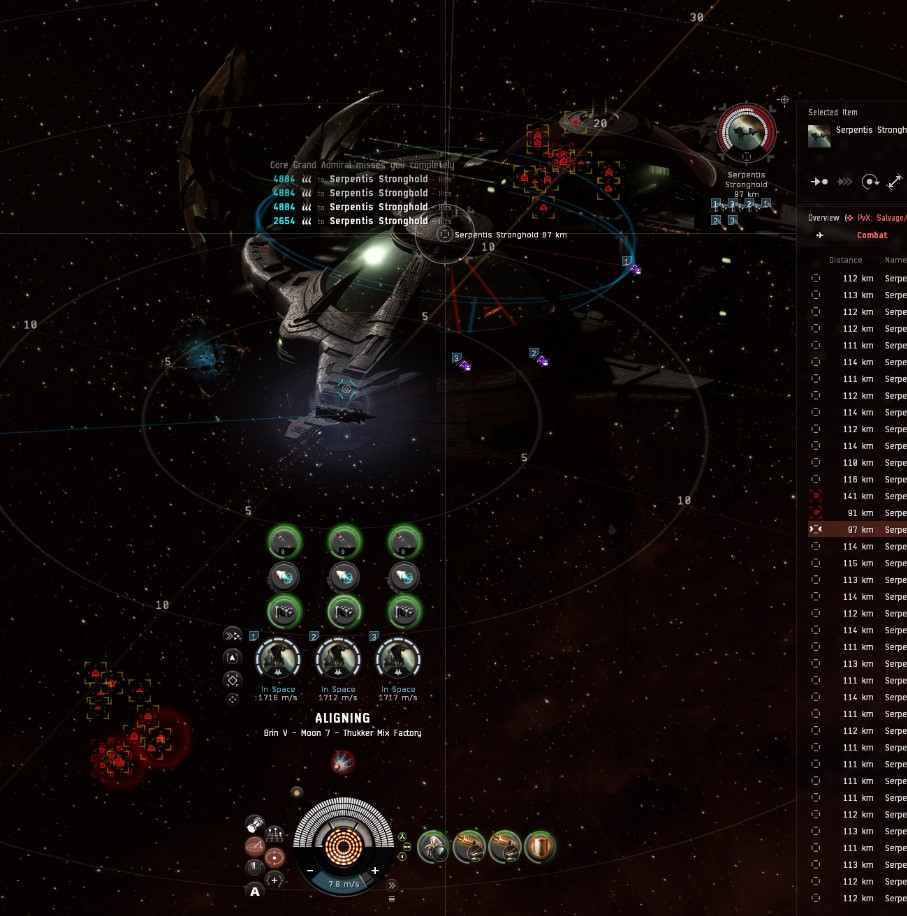
Wyrmsbane
- Destroy stronghold Barghest use DPS fit
Wyrmslayer
- Warp in/out at 10, wait 8minutes. Warp back at 100. Shoot the Maulus frigs in order to spawn the Shadow Serpentis BS. Kill this BS to trigger completion. bookmark wreck, loot after handing in mission (can drop faction loot) TIP: Minmatar agents does not appear to give this mission Barghest use DPS fit
Ships and Fittings
If you have any questions, don't hesitate to ask me, the fits I run are below, refit as needed, just make sure you can still lock/damage the objective when out of range from damage. you want at least 1.1k DPS+ for this to be efficient.
For the Barghest, there are multiple fits, the below is what you want to use when buy-all to get all the modules, if you find yourself too squishy in missions, either invest in Amulets, or X-type hardeners+deadspace/faction repper for extra tank. When travelling (if you do) make sure you don't have a plate fitted, and you have MWD+cloak online so you can do the cloak+mwd trick
[Barghest, Purchase]

Ballistic Control System II
Ballistic Control System II
Ballistic Control System II
Ballistic Control System II
Missile Guidance Enhancer II
Missile Guidance Enhancer II

Large Micro Jump Drive
Missile Guidance Computer II, Missile Range Script
Sensor Booster II, Targeting Range Script
Missile Guidance Computer II, Missile Range Script
Sensor Booster II, Targeting Range Script
Heavy F-RX Compact Capacitor Booster

Cruise Missile Launcher II
Cruise Missile Launcher II
Cruise Missile Launcher II
Cruise Missile Launcher II
Cruise Missile Launcher II
Cruise Missile Launcher II
Improved Cloaking Device II
[Empty High slot]

Large Bay Loading Accelerator II
Large Hyperspatial Velocity Optimizer I
[Empty Rig slot]

Mjolnir Fury Cruise Missile x3500
Caldari Navy Cruise Missile x2000
Navy Cap Booster 3200 x5
Missile Precision Script x2
EM Armor Hardener II x1
Thermal Armor Hardener II x1
Kinetic Armor Hardener II x1
Large Armor Repairer II x1
Heavy F-RX Compact Capacitor Booster x1
500MN Y-T8 Compact Microwarpdrive x1
Drone Link Augmentor II x2
[Barghest, Tank]

Thermal Armor Hardener II
EM Armor Hardener II
Ballistic Control System II
Ballistic Control System II
Large Armor Repairer II
Ballistic Control System II

Sensor Booster II, Targeting Range Script
Missile Guidance Computer II
Sensor Booster II, Targeting Range Script
Missile Guidance Computer II
Heavy Capacitor Booster II
Large Micro Jump Drive

Cruise Missile Launcher II
Cruise Missile Launcher II
Cruise Missile Launcher II
Cruise Missile Launcher II
Cruise Missile Launcher II
Cruise Missile Launcher II
Improved Cloaking Device II
[Empty High slot]

Large Bay Loading Accelerator II
Large Hyperspatial Velocity Optimizer I
[Empty Rig slot]
[Barghest, Fortress]

Ballistic Control System II
Ballistic Control System II
Ballistic Control System II
Missile Guidance Enhancer II
Large Armor Repairer II x1
EM Armor Hardener II x1

Heavy F-RX Compact Capacitor Booster
Heavy F-RX Compact Capacitor Booster
Missile Guidance Computer II
Large Micro Jump Drive
Sensor Booster II
Sensor Booster II

Cruise Missile Launcher II
Cruise Missile Launcher II
Cruise Missile Launcher II
Cruise Missile Launcher II
Cruise Missile Launcher II
Cruise Missile Launcher II
Drone Link Augmentor II
Drone Link Augmentor II

Large Bay Loading Accelerator II
Large Hyperspatial Velocity Optimizer I
[Empty Rig slot]

[Empty Rig slot]
[Barghest, DPS]

Ballistic Control System II
Ballistic Control System II
Ballistic Control System II
Ballistic Control System II
Missile Guidance Enhancer II
Missile Guidance Enhancer II

Large Micro Jump Drive
Missile Guidance Computer II
Sensor Booster II
Missile Guidance Computer II
Sensor Booster II
Heavy F-RX Compact Capacitor Booster

Cruise Missile Launcher II
Cruise Missile Launcher II
Cruise Missile Launcher II
Cruise Missile Launcher II
Cruise Missile Launcher II
Cruise Missile Launcher II
Improved Cloaking Device II
[Empty High slot]

Large Bay Loading Accelerator II
Large Hyperspatial Velocity Optimizer I
[Empty Rig slot]
If you aren't running Nirvanas, I suggest getting a second LSE II and refit MWD as needed for it on missions you find yourself going into armour on. I also stash 2x large armor repairer II in each system I have a golem in, to repair any armour damage (Marauders are expensive to repair)
[Golem, Golem 5]
Ballistic Control System II
Ballistic Control System II
Signal Amplifier II
Missile Guidance Enhancer II

Large Micro Jump Drive
500MN Y-T8 Compact Microwarpdrive
Large Shield Extender II
Sensor Booster II
Heavy F-RX Compact Capacitor Booster
Missile Guidance Computer II
Missile Guidance Computer II

Cruise Missile Launcher II
Cruise Missile Launcher II
Cruise Missile Launcher II
Cruise Missile Launcher II
Bastion Module I
Improved Cloaking Device II
Drone link Augmentor II
Drone link Augmentor II

Large Warhead Flare Catalyst II
Large Warhead Rigor Catalyst II

Hornet EC-300 x5

Mjolnir Fury Cruise Missile x4376
Targeting Range Script x1
Missile Range Script x2
Navy Cap Booster 3200 x7
[Barghest, Travel]

Ballistic Control System II
Ballistic Control System II
Ballistic Control System II
500MN Y-T8 Compact Microwarpdrive
Missile Guidance Enhancer II
Missile Guidance Enhancer II

Large Micro Jump Drive
Missile Guidance Computer II
Sensor Booster II
Missile Guidance Computer II
Sensor Booster II
Heavy F-RX Compact Capacitor Booster

Cruise Missile Launcher II
Cruise Missile Launcher II
Cruise Missile Launcher II
Cruise Missile Launcher II
Cruise Missile Launcher II
Cruise Missile Launcher II
Improved Cloaking Device II
[Empty High slot]

Large Bay Loading Accelerator II
Large Hyperspatial Velocity Optimizer I
[Empty Rig slot]
Never ran the Raven myself, but I've seen it done, if you are on a budget.
[Raven, lvl5]
Ballistic Control System II
Ballistic Control System II
Ballistic Control System II
Signal Amplifier II
Signal Amplifier II

Large Micro Jump Drive
500MN Y-T8 Compact Microwarpdrive
Heavy F-RX Compact Capacitor Booster, Navy Cap Booster 3200
Sensor Booster II, Targeting Range Script
Missile Guidance Computer II, Missile Range Script
Missile Guidance Computer II, Missile Range Script
Large Shield Extender II

Cruise Missile Launcher II
Cruise Missile Launcher II
Cruise Missile Launcher II
Cruise Missile Launcher II
Cruise Missile Launcher II
Cruise Missile Launcher II
Improved Cloaking Device II

Large Ionic Field Projector II
Large Warhead Rigor Catalyst II
Large Rocket Fuel Cache Partition II
Just an example fit on the Nidhoggur I run with, any carrier works though
[Nidhoggur, lvl5]
Damage Control II
Drone Damage Amplifier II
Drone Damage Amplifier II
Drone Damage Amplifier II
Drone Damage Amplifier II

Capital Shield Extender II
Sensor Booster II
Omnidirectional Tracking Link II
Drone Navigation Computer II
Kinetic Shield Hardener II
Omnidirectional Tracking Link II

Fighter Support Unit I
Fighter Support Unit I
Fighter Support Unit I
Fighter Support Unit I
Fighter Support Unit I

Capital Hyperspatial Velocity Optimizer I
Capital Hyperspatial Velocity Optimizer I
Capital Hyperspatial Velocity Optimizer I

Tracking Speed Script x2
Scan Resolution Script x1

Firbolg I x3
TIP: On carrier you can swap out 2x high slots for heavy neuts in case you are worried about being tackled by players, you can also swap to a smartbomb or two for the fortress, I usually just run with firbolgs and will warp out incase the enemy gets too close, then warp in again at 10 instead of 100